



If your project includes over-length custom shelves, we've likely used a Lamello Clamex connection to join them. It's a clever piece of Swiss jiggery pokery, machined into the flat ends of the two shelves that connect together.
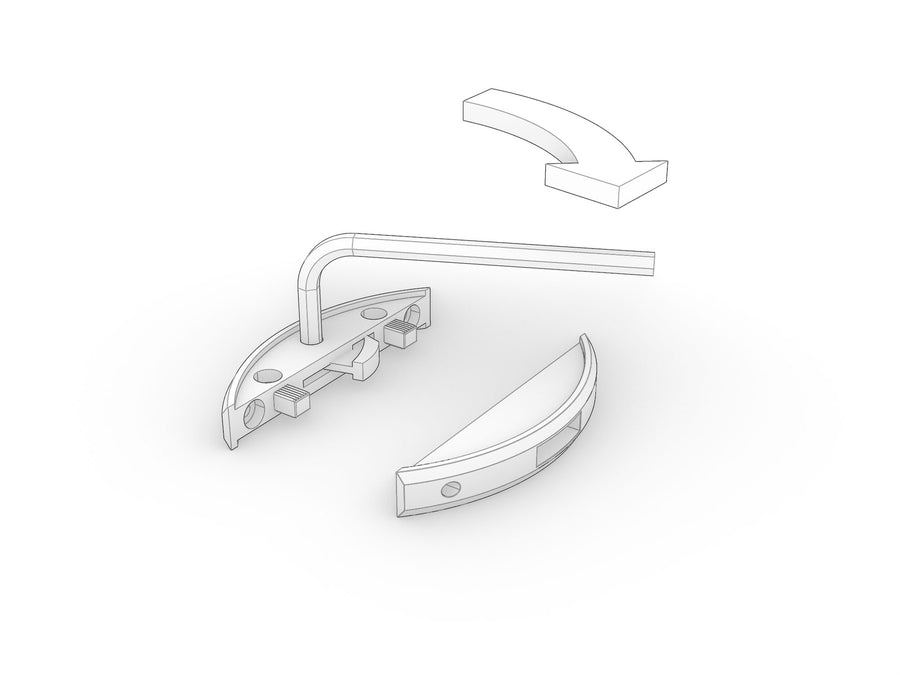
Each connection has a male and a female half, machined into the ends of the two shelves. A 4mm Allen key actuates the cam in the male side, which draws the two halves together and locks them.
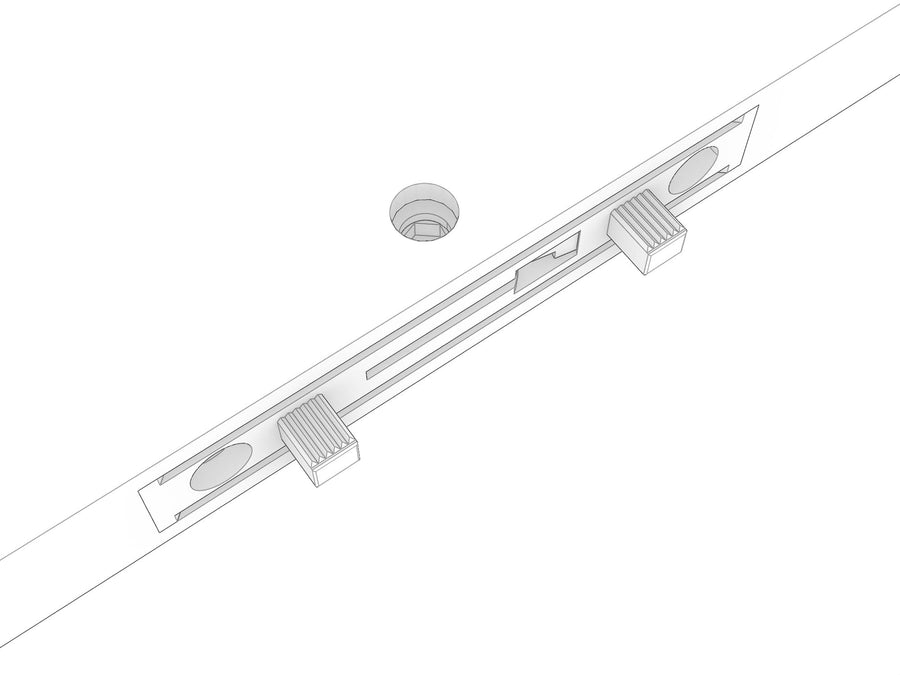
Look along the flat end of the shelf for the fittings. You'll see a round access hole near both fittings - peer down inside them and one will have a metal seat for a 4mm Allen key. That's the side you'll be turning.
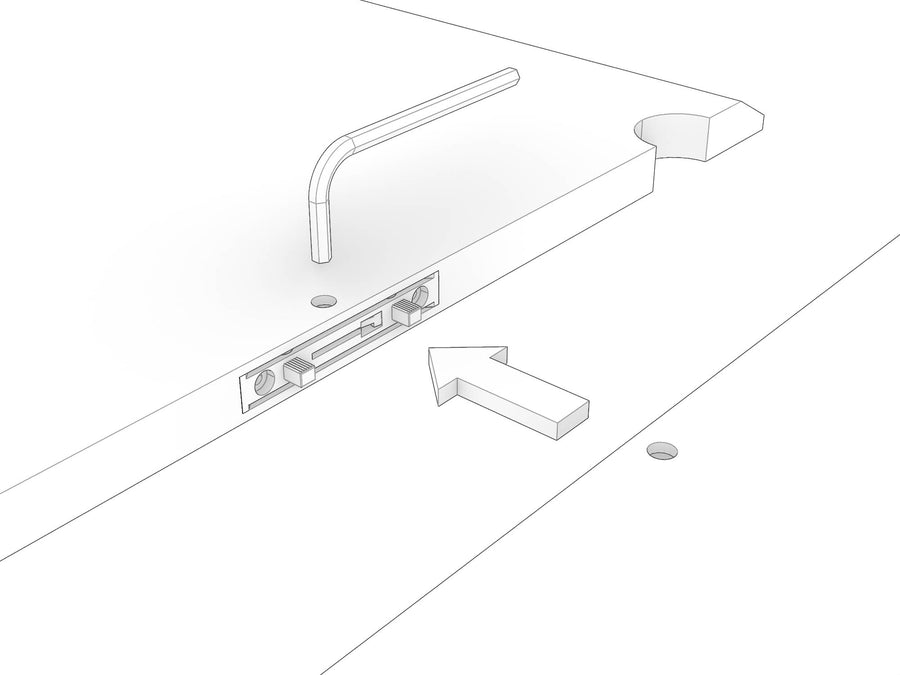
Working on a soft, clean surface so you don't scratch your components, carefully line up the two halves and bring the fittings together.
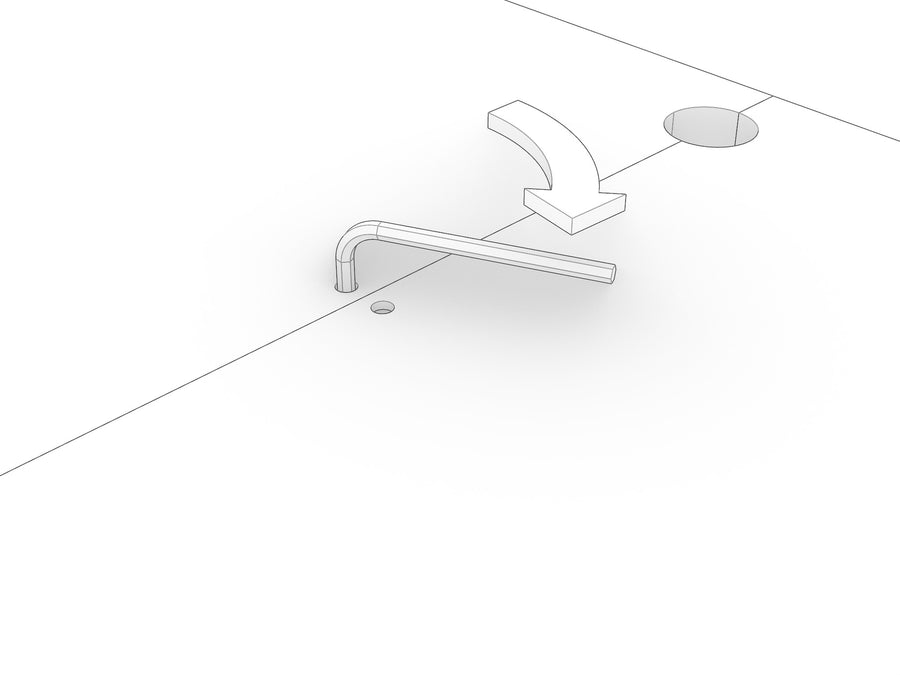
Don't fully tighten it yet. Use the supplied 4mm Allen key to gently engage the cam into the female side, twisting about 45° until it starts to engage.
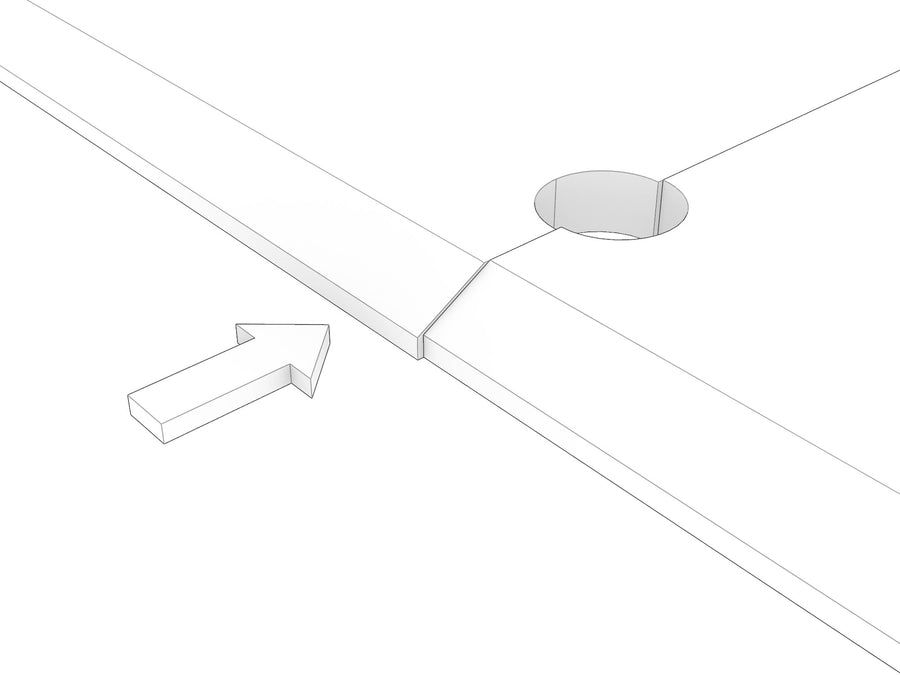
With the cam part-engaged you still have a little wiggle room. Line up the outside edges of the shelves with each other before you go any further.
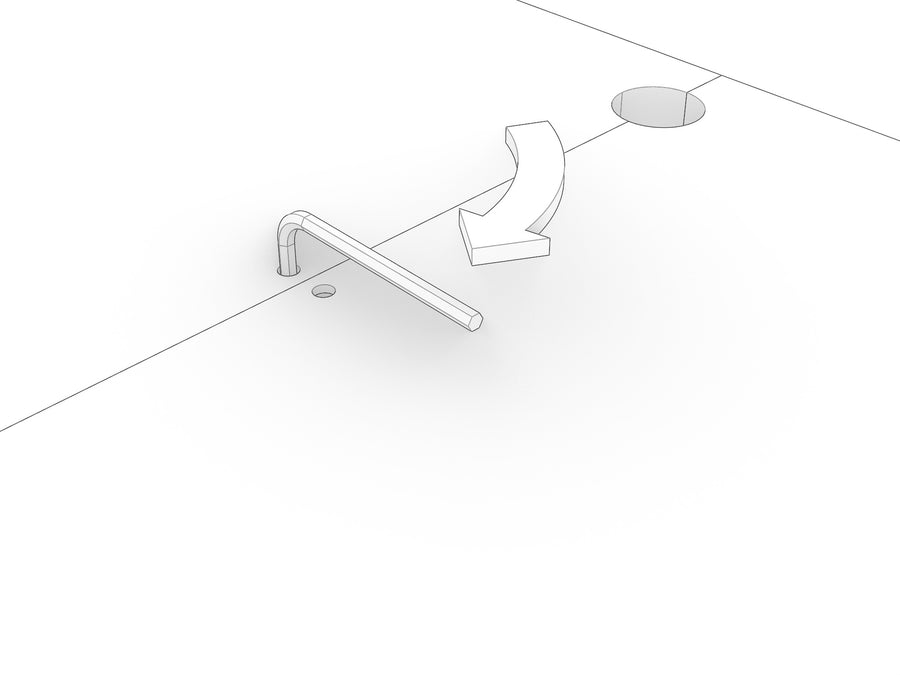
Gently tighten the cam. You'll feel a positive index at around 90° of rotation as it firms up and snugs the two shelves together. Be careful not to over-tighten - these fittings can be damaged.
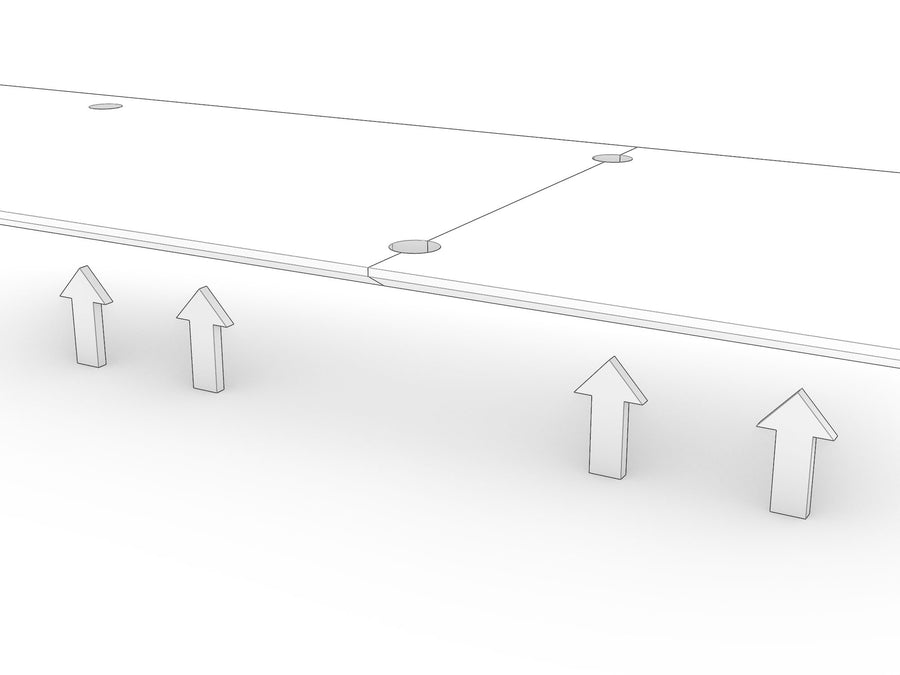
The connector is a lateral join that holds the KittaParts together - a joined shelf isn't especially strong on its own until it's built into your unit and properly supported. It's often easier with two people to carefully lift the shelf into place before continuing your assembly.
As always, we're here to help if you run into difficulty putting your product together, or caring for it.
New mandatory standards require all furniture makers to include the following information on their products. Please get in touch if you have any questions!


WARNING

Director & lead designer
Real person, not a chatbot. I read and reply to messages myself, usually same day.
Text anytime. I manage my notifications, so you won't disturb me. Message whenever suits you and I'll pick it up when I'm back online.


